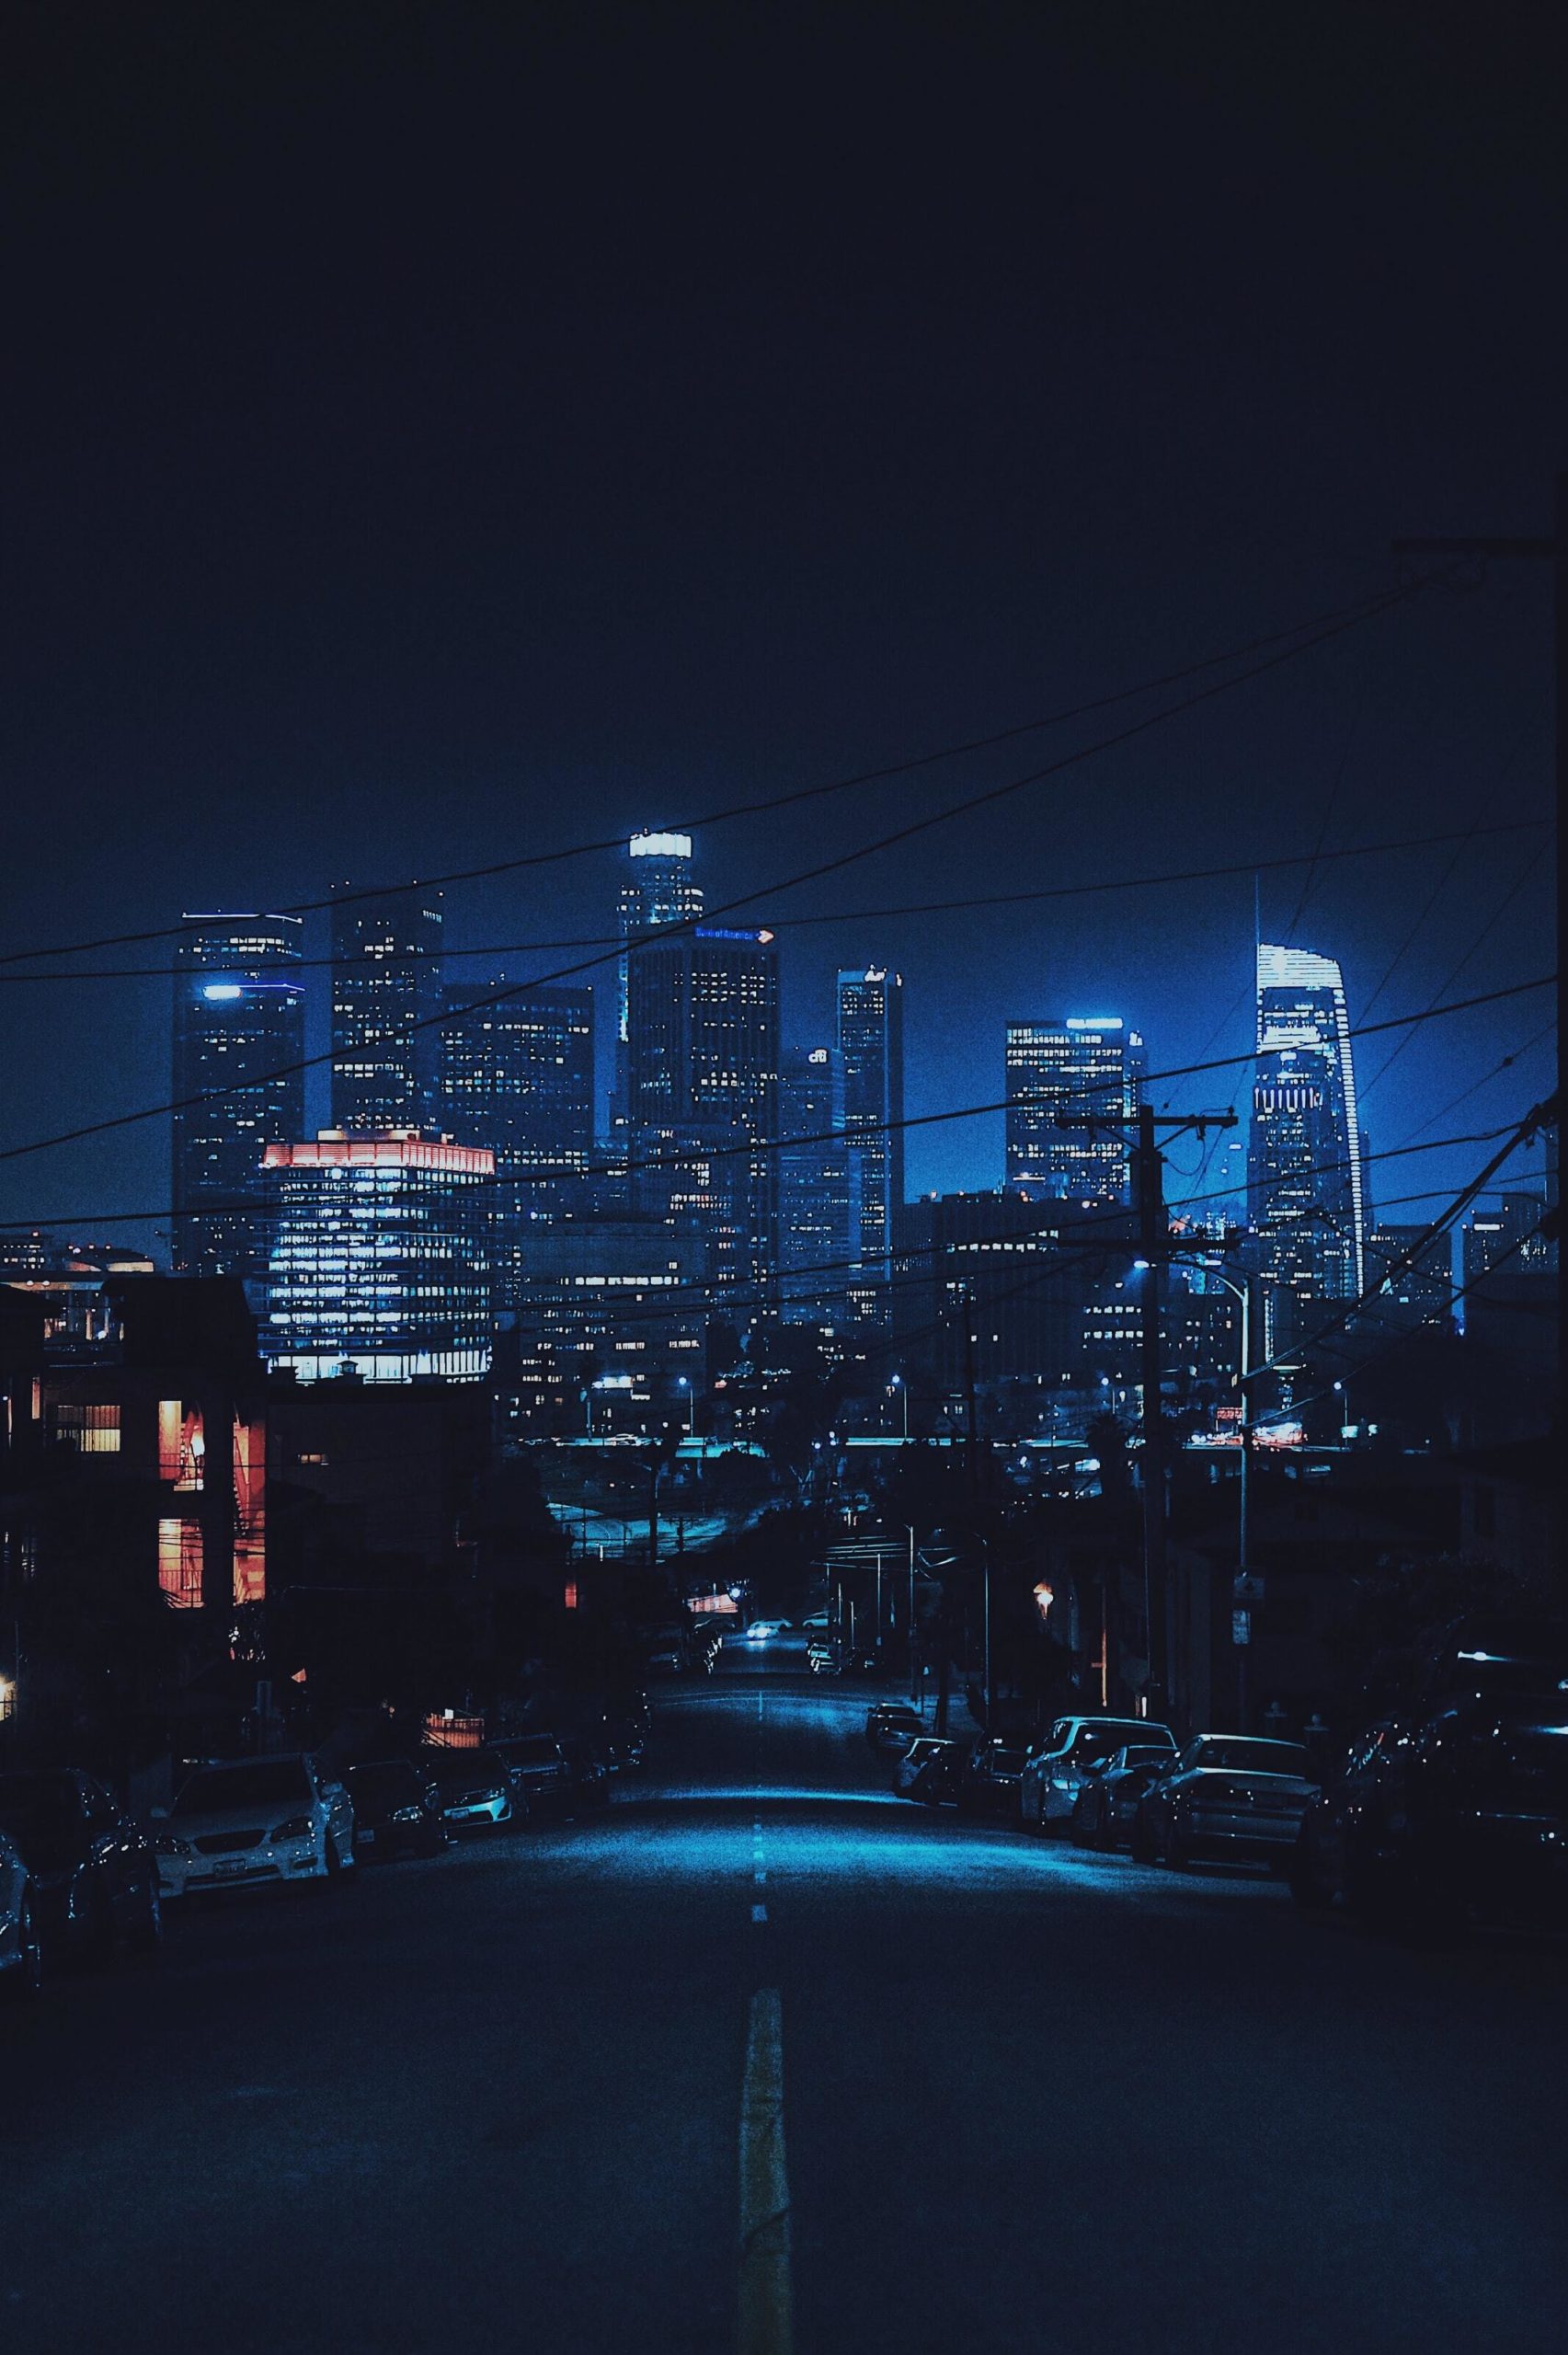
Whether you use a DSLR camera, point-and-shoot or just smartphone camera in Pro mode, you may be wondering about what are the best camera settings for low light photography.
In this article we'll go over each what each of the common settings are used for and suggest best practices when it comes to getting sharp and noise-free photos.

The three horseman of exposure: ISO, apertu24re and shutter speed ...
When talking about lighting in terms of digital photography, we're really talking about getting proper exposure. In any digital camera, there are three main factors that together determine the exposure of any image.
These are ISO, shutter speed and aperture (F number). When shooting in Manual (Pro) mode, the user has to manually set each of these settings, and the best values to set depend on the situation and can be any number of combinations.
ISO Value ...
ISO standard originally come from film photography and is used to determine film's level of sensitivity to light. Higher ISO number means higher sensitivity and brighter image. The same standard was applied to digital photography, where ISO represents sensitivity to light of the camera's digital sensor.
Common ISO ranges start at ISO100 and for most cases, doesn't go beyond ISO6400, though many cameras support much higher values than that, it is not recommended using them unless necessary due to high levels noise and image quality degradation.

So if you're shooting in low-light, a natural assumption may be to just bump the ISO number until we reach the desired image brightness (exposure). However, using high ISO numbers comes with a cost of increased grain (noise), and is always a trade-off.
Generally, we recommend using the lowest ISO number possible in order to minimize image noise, and the toll it takes on overall image quality. Increasing ISO is only recommended when we can't compensate for exposure using shutter speed and/or aperture.
Shutter Speed ...
Shutter speed refers to the length of time the camera shutter remains open when capturing a photo. Longer shutter speed means the sensor will be exposed to light for longer, and will therefore collect more light and producing a brighter image.
Unlike increasing ISO number, increasing shutter speed won't negatively affect image sharpness and noise levels. However, having a long shutter speed introduces other potential issues. Namely, it will make shooting hand-held more difficult, with even a slight vibration causing motion blur effect.
Furthermore, shooting moving objects with a long shutter speed is impossible without producing a ghosting effect.
It is recommended to use long shutter speeds only when shooting static subjects, such as landscape or product photography. It is also best to have the camera mounted on a tripod to avoid unintentional camera shake.
In these scenarios, you use the light collected by shutter being open for long instead of increasing ISO number, thus creating a sharp photo without unwanted noise. Common shutter speeds for long-exposure photography roughly range from 1s to 30s, depending on your needs.
Aperture (F-number or F-stop) ...
Lens aperture refers to the circular opening in lens that allows light to pass through and reach the sensor. Larger aperture (smaller F-number) means more light will reach the sensor, thus producing a brighter image.
Smaller aperture (larger F-number) means less light can pass through and will produce darker images. Aperture is a crucial factor in determining proper image exposure, as large aperture will allow you to use smaller ISO values without losing on exposure.

Lens with large aperture such as F1.4, F2.0 and F2.8 are usually more expensive, and are a great choice for night photography, as well as shooting in any kind of low-light environment.
Another interesting effect of large aperture is its ability to create a shallow depth of field. This is useful in portrait photography because shallow depth of field isolates the subject by blurring the background, producing what is commonly known as the "bokeh" effect.
On the other hand, smaller or narrower aperture will generally create more focused, sharper images. So, if you get you can afford sacrificing some of the light, it's best not to have the aperture wide-open.
Conclusion ...
Getting the best out of your camera comes down to using the optimal settings with the goal of minimizing noise levels and maximizing sharpness, while getting proper exposure. As a general rule, you want to use the smallest ISO value possible, and try to compensate by increasing either shutter speed or aperture.
Play around with your settings with different combinations of values and see what results you get. Good luck shooting sharp and noise-free images!

